API Status

And I haven’t forgotten this either…

After reviewing the code again, what I will do is release a version that will operate a limited set of MSTS controls, in particular the electric locomotive type and one or two types of braking shortly – as this is already working and it gets something out there.

I will also release the sample application that goes with it, with the related VB code.

If I get a few free hours this weekend I’ll try and get it posted by Sunday night.

Still here…

Well, I am still here – unfortunately my real job has intruded a bit and detracted from hobby time.

However, it has not all been a waste, I managed to pick up one of these in April:

My new master controller

Yes, it’s yet another Red Rattler master controller – this one is complete – I do have one already installed, however after a bit of a touch-up I think this one is in better condition and will put it in.

I also picked up and started working on the 32 port digital I/O module

Oops…

Apologies for anyone who tried to access the site this morning, a minor DNS snafu occurred.

All fixed now – things are progressing, I’m not too far from a early release of the API

Karl

Got it…

Just a brief one as I’ve got a few things to do over the next few days, but I can now drive the default SD40 diesel “keyboardless” – i.e. direct external control. This has the self-lapping type westinghouse and a notched throttle.

I’ll post a screenshot soon.

More on the MSTS interface

Just briefly – my theory on how the controls work is correct. Certainly diesel and electric are controlled from different memory locations – but it’s a bit more complex than that.

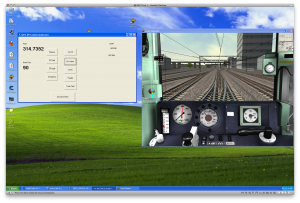
For example, you can see my code below driving the default MSTS Tokyo-Hakone route with the standard electric set (which has an EP brake as well just like the BSet).

What does appear to be the case is that it is done  by control type not locomotive type. i.e. my code will control the Series 2000 default electric loco, but not the Series 7000 (as the series 7000 has a combined power handle/brake setup). So what we need to do is write the interface to handle all the different types.

Driving the default electric set.

More on the MSTS Interface

The weather here has been rather awful the past few weeks, with temperatures exceeding 35C. This coupled with a number of comments I have received have encouraged me to concentrate on the interfacing part of the simulator – i.e. the code that allows external control of MSTS.

My intention is to create a generic API for MSTS that programmers can use to interface any number of devices into MSTS.

To this end I have considerably tidied up the VB code and modified it to make it easy to add new functionality – primarily by ensuring all the memory addresses are maintained in global variables, rather than just ad-hoc as it was before 🙂

Below are a couple of screenshots of me driving MSTS entirely “keyboard free” using the VB “MSTS_CONTROL” app. At this stage I only have throttle, brake, “zero brake pipe”, amp gauge and brake pipe gauge controls, but I’ll add the remaining ones in shortly. I will then expose all the functions (as a dll) which will complete version 1 of the msts_control library.
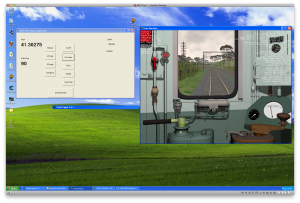
MSTS being controlled "keyboard free"
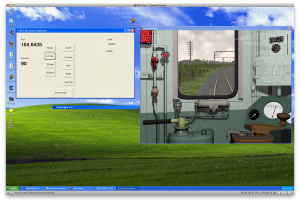
MSTS being controlled "Keyboard Free"
Amp gauge PWM working

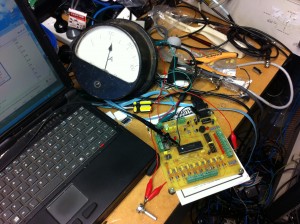
Driving the amp gauge from the DSE kit was easier than I anticipated – the DSE kit does not use a number of pins on the 16F877A – simply configuring one of these for PWM was all that was needed. I removed the ULN2003’s from the circuit and are just driving the output directly from the microcontroller via the pullup resistor. I’ve added an extra control command which simply varies the duty cycle and I can make the gauge read from 0 to 300A with all points in between.

Picture below – this really needs a movie which I’ll upload later.

Simulator Construction - Amp gauge control working

Todo List

Still to finish:

– Finish installing remaining cab controls (Bell, Fuse Tester, Trip Switch, Horn, Wiper)

– Finish PWM amp gauge control

– Build air gauges / stepper motors

– Optics – this will be a 40″ monitor mounted in the “cab” window

– Finish MSTS interface

A fair bit to do…