API Status

And I haven’t forgotten this either…

After reviewing the code again, what I will do is release a version that will operate a limited set of MSTS controls, in particular the electric locomotive type and one or two types of braking shortly – as this is already working and it gets something out there.

I will also release the sample application that goes with it, with the related VB code.

If I get a few free hours this weekend I’ll try and get it posted by Sunday night.

More on the MSTS interface

Just briefly – my theory on how the controls work is correct. Certainly diesel and electric are controlled from different memory locations – but it’s a bit more complex than that.

For example, you can see my code below driving the default MSTS Tokyo-Hakone route with the standard electric set (which has an EP brake as well just like the BSet).

What does appear to be the case is that it is done  by control type not locomotive type. i.e. my code will control the Series 2000 default electric loco, but not the Series 7000 (as the series 7000 has a combined power handle/brake setup). So what we need to do is write the interface to handle all the different types.

Driving the default electric set.

More on the MSTS Interface

The weather here has been rather awful the past few weeks, with temperatures exceeding 35C. This coupled with a number of comments I have received have encouraged me to concentrate on the interfacing part of the simulator – i.e. the code that allows external control of MSTS.

My intention is to create a generic API for MSTS that programmers can use to interface any number of devices into MSTS.

To this end I have considerably tidied up the VB code and modified it to make it easy to add new functionality – primarily by ensuring all the memory addresses are maintained in global variables, rather than just ad-hoc as it was before 🙂

Below are a couple of screenshots of me driving MSTS entirely “keyboard free” using the VB “MSTS_CONTROL” app. At this stage I only have throttle, brake, “zero brake pipe”, amp gauge and brake pipe gauge controls, but I’ll add the remaining ones in shortly. I will then expose all the functions (as a dll) which will complete version 1 of the msts_control library.

MSTS being controlled "keyboard free"

MSTS being controlled "Keyboard Free"

MSTS and EP Braking

What what I can determine – MSTS believes a EP brake is what we Aussies would call a “straight air” brake – with an emergency function. This is irritating as the Red Rattlers had a dual EP/Westinghouse system in which there were electric application and holding valves – but a full Westinghouse system was also available if the EP brake failed or by selection on the brake stand.

This is proving hard to simulate – I can almost get there by using EP mode and directly manipulating the brake pipe pressure externally – however MSTS won’t activate the brakes on the cars unless the BP pressure drops to near 0 – i.e. it won’t allow gradual Westinghouse and EP – however there are some more avenues of poking around inside the MSTS memory space to see what we can find…

I’ll keep working on it – any ideas email me!

Getting data in and out of MSTS

One of the key challenges to building a simulator such as this one is to utilise good software.

The Simpit builders have it lucky – as they have such great sims as Flight Simulator X and Falcon 4. Both of these include support for external interfacing.

The train simulator community isn’t so lucky – MSTS is still an excellent program and it is the one that I have chosen to power my simulator, however lacks any form of API – something that is a huge drawback. There have been an number of attempts to over come this – the Raildriver product uses a “screen scrape” of the data – a novel idea but something I would like to avoid.

Doug Johnson, with his “My Ultimate Toy Train” project, provided some answers – if you read his excellent project report (site link on the Blogroll) he did a lot of the ground work in getting data out of MSTS using the excellent “Cheat Engine” tool.

However, I have taken his ideas one step further. MSTS allows for data to both be extracted and input back into the simulator – avoiding any need to develop a keyboard emulator or the like.

Utilising the same concepts as Doug, I developed a series of patches for MSTS that create a code cave in which a sequence of pointers is stored to key values within MSTS. Then it is simply a matter of writing and reading to these addresses and you can control MSTS externally!

What is also interesting is that as well as providing input for the brake and master controller inputs, MSTS will also allow you to change other operational parameters and it will behave accordingly.

For example, it is easy to simulate a breakaway by reducing the value of the brakepipe to 0, MSTS then automatically applies the brakes (as is prototypical of the Westinghouse system). Also prototypically, it does attempt to keep recharging the brakes – until of course you lap the brake valve.

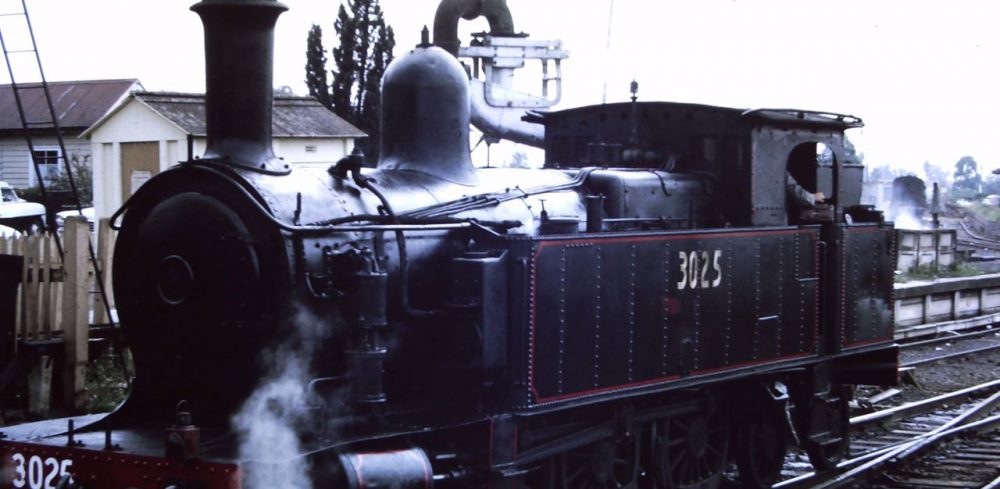
It’s a bit hard to see in the screenshot below – however this is Chris Jennings’ B-Set sitting at Central platform – on the right is a quick piece of VB code that is reading (and writing) data into the memory space of MSTS. The number at the top reads 95.6666 which is the brake pipe pressure – the number on the left is 0 which is the current amps being pulled. (The throttle is closed here). The words are “CAFEBABE” which is a test hex string for debugging and the buttons activate the brakes externally to MSTS.

Simulator Software - MSTS showing connection to a VB6 app

This next screenshot shows us accelerating at the end of the platform – the amp gauge now reads 379.5977 and the brake pipe 110. Note – this is configured as “straight westinghouse” in MSTS. The Red Rattlers used an EP brake – but I’ll get to that in the next post.

Simulator Software - Accelerating Screenshot